I’ve posted a handful of times about these adorable boys neck ties I’ve been making by the handful but I have yet to do a full tutorial. Since I just drew up all my own neck tie patterns, a real, full-blown tutorial is in order.
MATERIALS
- iron (39.95 USD)
- 1/8 yard fabric for tie front
- 1/8 yard fabric for lining (I use solid white)
- safety pin (8.99 USD for a box of 1000)
- tie pattern (39.95 USD)
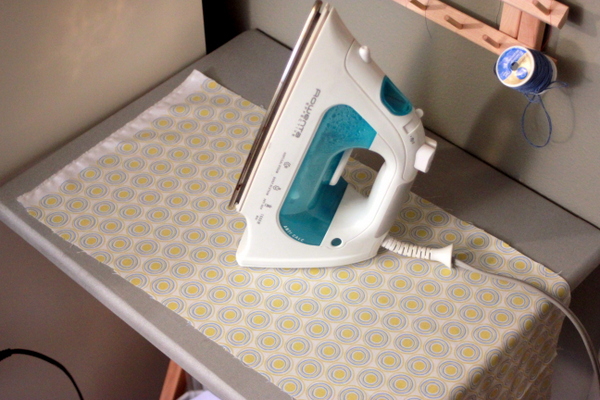
1. Press the fabric – 1/8 yard is plenty to do one tie and a 1/4 yard will do several of different sizes.
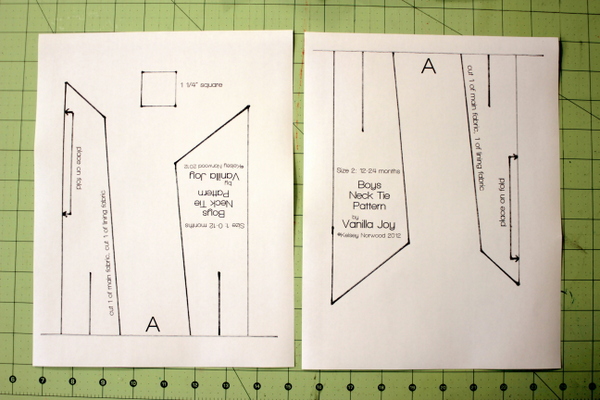
2. Print and assemble the pattern – right now the patterns will open up in a Word document – don’t mess with anything! Print as is even though the margins will be outside the printable area. You won’t lose anything important, promise, and you don’t want to mess with the scale!
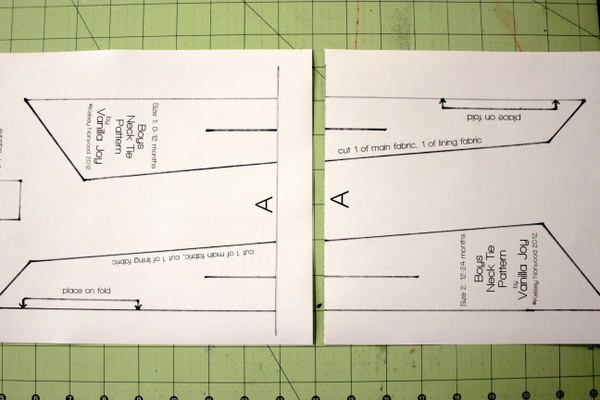
3. Cut off one of the pattern pages at the bold line – I cut the page on the right so now I can lay it on top of the page on the left and tape down…
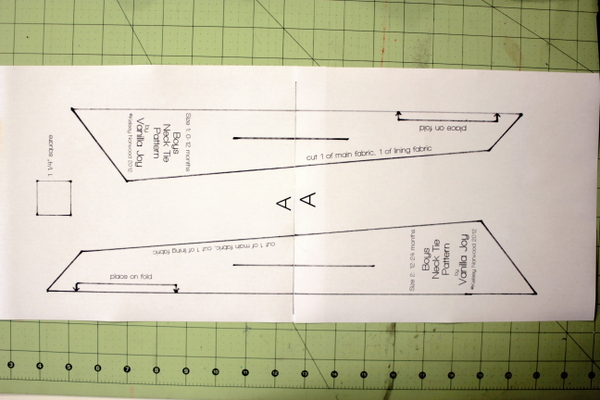
…like so. Measure that little reference square just to be sure you didn’t change the scale. Should be 1 1/4″ square.
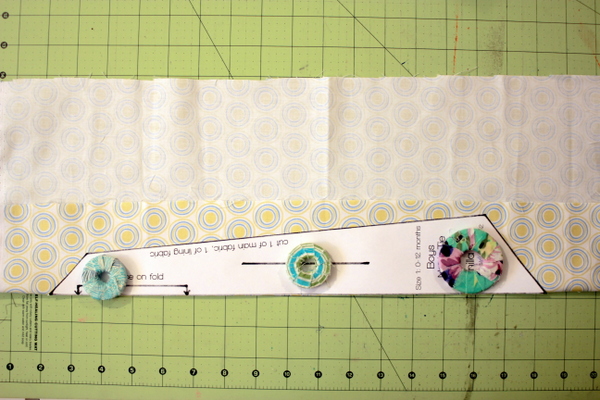
4. I drew all the patterns to be placed on the fold – this is a much more accurate way to get a completely symmetrical tie. So place the pattern on the fold, throw some pattern weights down and cut 1 of main fabric, 1 of lining fabric.
(I’m noticing my rotary mat is getting pretty janky. Sorry you have to see it in every single picture.)
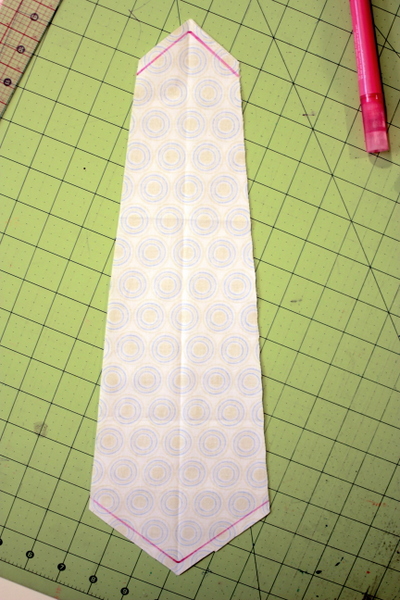
5. Lay the tie front piece face down on the lining piece and sew 1/4″ seams right where those pink lines are drawn.
6. Trim the very tip of the corner and grade it down a bit.
7. Flip the tie right side out and press.
(Janky mat again. Gross!)
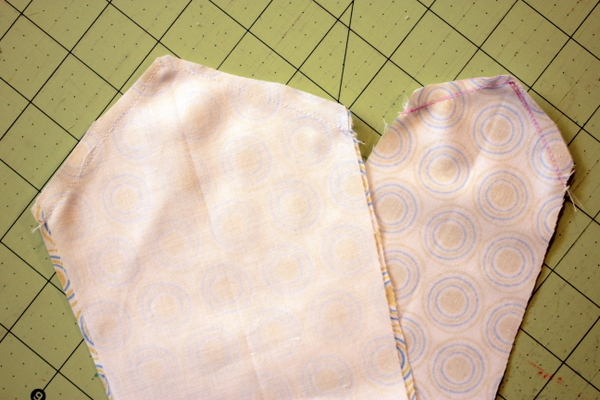
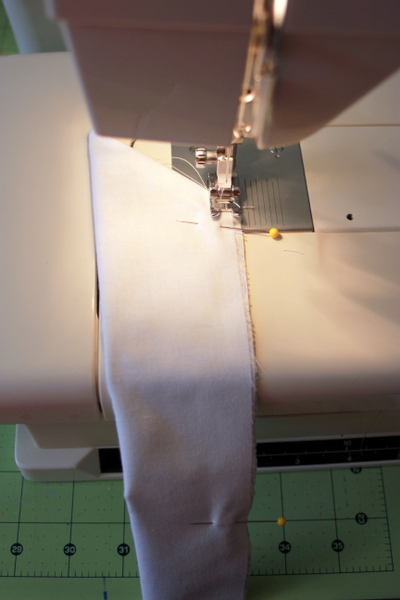
8. Match up the long outside edges of the tie – fold so the tie front is touching right sides together on the inside and sew a 1/4″ seam.
9. Start with the wide end first and backstitch at both ends.
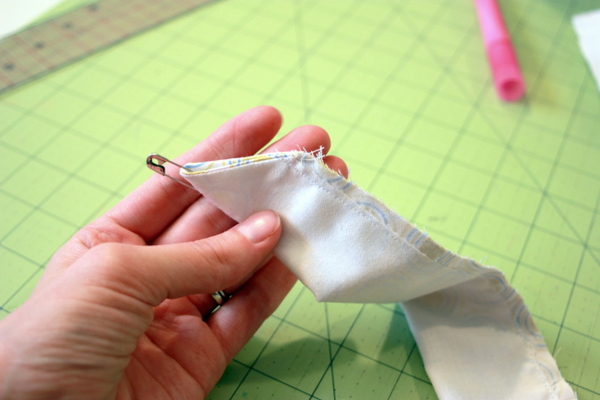
9. Pin a safety pin to the skinny end and flip it right side out.
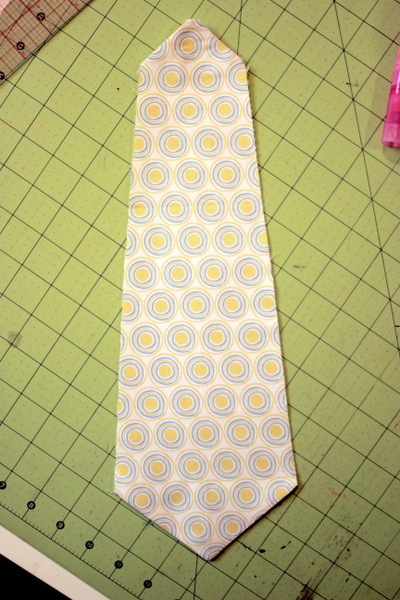
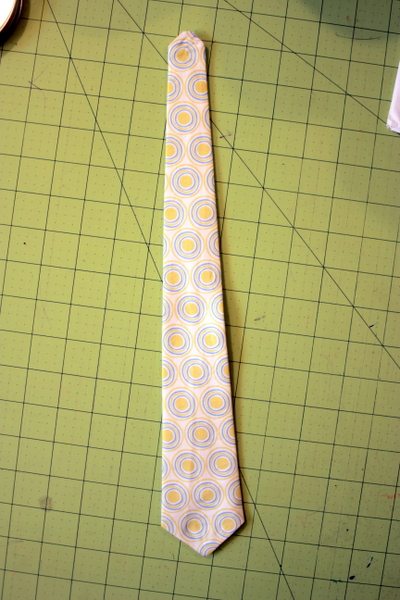
10. Press and finished!
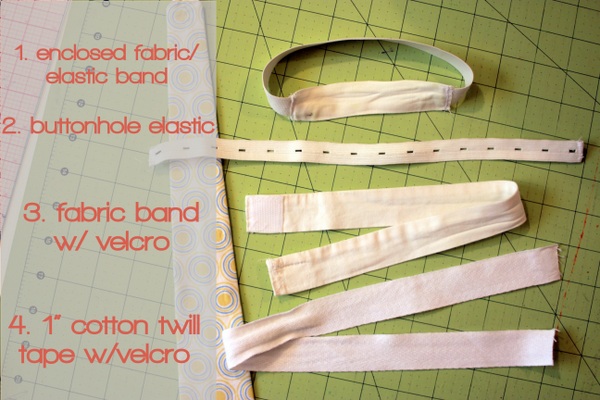
The last step is to make some kind of neck band to tie the tie to. I’ve used everything pictured above but my two favorites are the buttonhole elastic and the cotton twill tape – both require almost no sewing.
I use the buttonhole elastic for my baby’s ties – I’ve sewn a button to the center back of his white church shirts underneath the collar. Then I tie the tie to the elastic and loop the buttonholes on either end to the button on the back of his shirt. It’s super easy and he can’t tear it off.
For older boys I love using cotton twill tape. I get out their white shirts and measure from the center front where the tie will be all the way around the neck back to that point on the other side to determine the length of the neck band. Then finish the ends and sew velcro to them and that’s it!
The last step is tying the tie on to the neck band. Click here for a photo demonstration.
Each tie takes maybe 15 minutes to make and they use such a small amount of fabric. I can’t get enough!!!



{ 13 comments… read them below or add one }
{ 2 trackbacks }