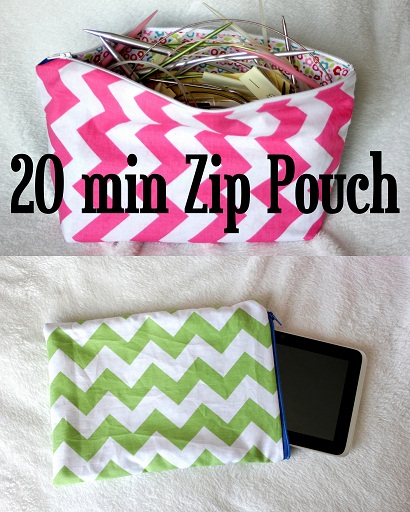
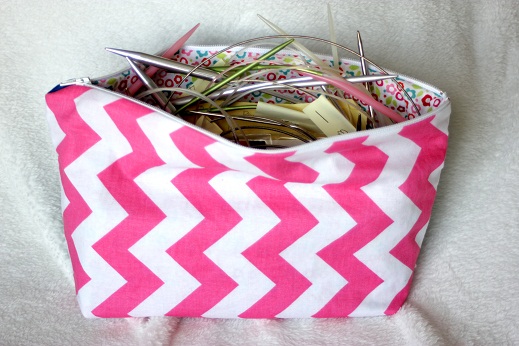
My first Chevron project was some new zip pouches – I inherited a duffle bag full of knitting needs (yay!) from a good friend and these zip pouches are the best way I’ve found to organize them. I needed a new one for my circulars, and I thought the pink Chevron would be perfect.
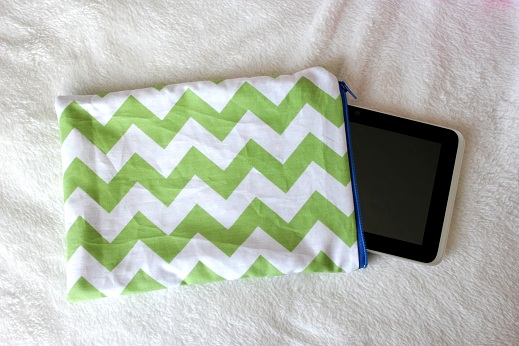
Also our little HTC Flyer tablet needed a little protection (and sometimes a hiding place from the kids if you know what I mean…).
And a zillion other uses – these zip pouches take about 20 minutes to throw together and it’s a great project for using up scraps and getting a little more organized.
Here’s what you’ll need:
- scrap fabric (or some of Riley Blake’s new Chevron!)
- a zipper
- basic sewing supplies
INSTRUCTIONS
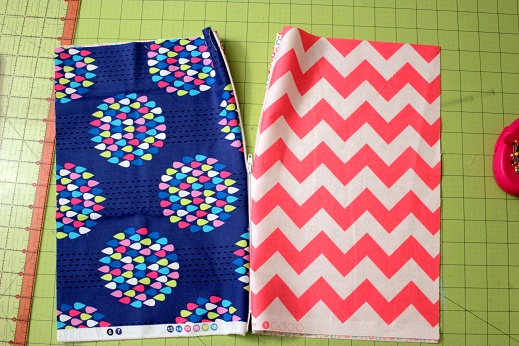
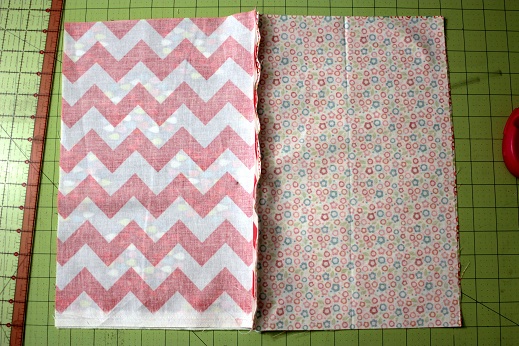
1. Cut 2 pieces of outer fabric and 2 pieces of lining fabric, all the same size. One of the measurements should be the same as the total length of the zipper.
A 7″ zipper is really about 8″, so cut the fabric to be 8″ x whatever length you want it. Make sense??
I used a 12″ zipper (which is about 13″ total) so I cut my 4 pieces of fabric (2 lining, 2 outer) 13″ x 9″.
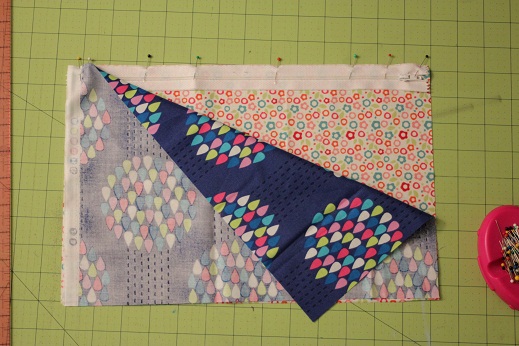
3. Lay one lining pieces down face up, then the zipper face up, and the outer piece face down. Pin really good.
***When you’re cutting out, it’s best to cut the fabric so the edge that will be sewed to the zipper is the less stretchy edge (that runs along the lengthwise grain). The zipper won’t stretch at all so it will turn out nicer this way. If you have no idea what I’m talking about, no matter. Carry on, it will be fine.
4. Using a zipper foot, sew so the right edge of the zipper foot runs along the edge of the fabric and the needle is sewing on the other side, about 1/4″ away from the edge. If you sew right up against the zipper the fabric could get caught when you open and close the pouch.
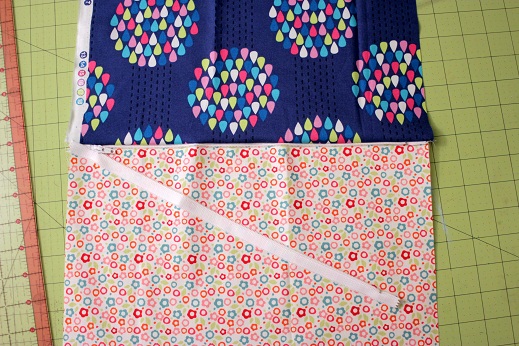
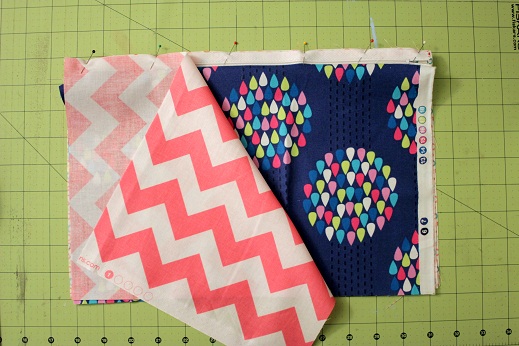
5. Repeat step 3 on the other side of the zipper.
6. After the lining and outer pieces have been sewn to the zipper, unzip the zipper halfway.
6. Flip around so that the outer pieces are right sides together and the lining pieces are right sides together with the zipper in the middle (opened halfway).
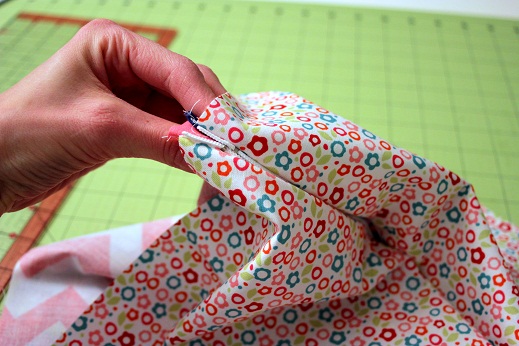
7. Pin all the way around, turning the zipper ends in to face the lining side and leaving a 2″ opening somewhere in the lining (to turn).
8. Sew using a 3/8″ seam. As you approach the corners, reduce the stitch length to 1 just before and after the corner to reinforce. After you turn the corner, increase stitch length back to 2.5.
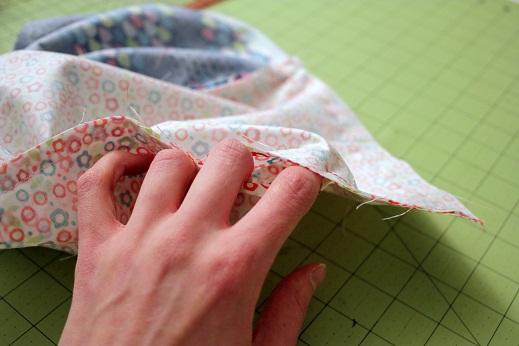
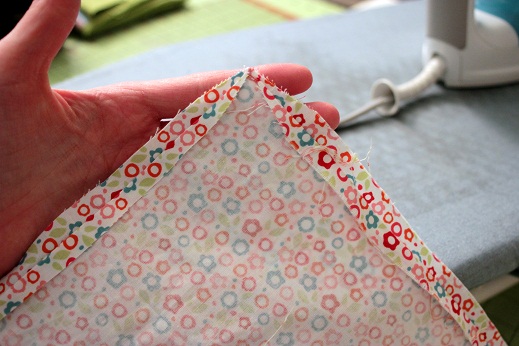
8. Press the seams and trim the seam allowances and corners.
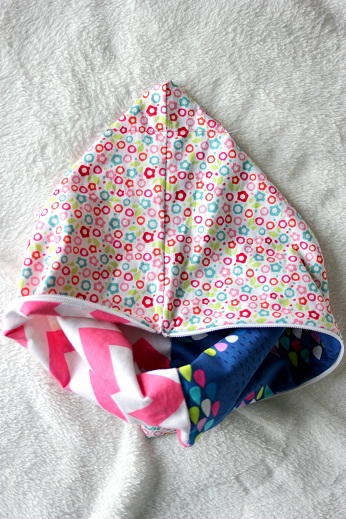
9. Turn right side out through the opening in the lining. Hand stitch or top stitch the opening in the lining closed.
For a regular flat pouch, you’re done!
If you want to make the bottom more rectangular, continue:
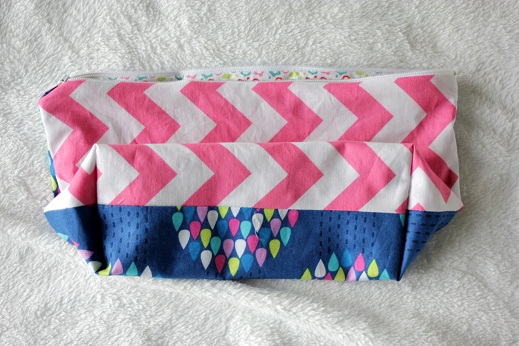
10. Push the outer portion into the lining so it’s inside out. Carefully match up the side and bottom seams so that the corner forms a triangle. Measure down 1 – 1/2″ inches and sew a straight line across. Do on both sides.
11. Push lining back inside the outer portion, smooth out corners, and you’re all done!
Making the bottom a little more rectangular means the pouch can fit more shapely items and it will also stand up on its own. There is definitely a place for both, so go crazy!
I LOVE how cheery and bright and modern the Chevron fabric is – perfect for a little zip pouch!


{ 6 comments… read them below or add one }