As promised, here is Part 2 of the Car Seat Cover Tutorial (here’s Part 1: The Cover)!
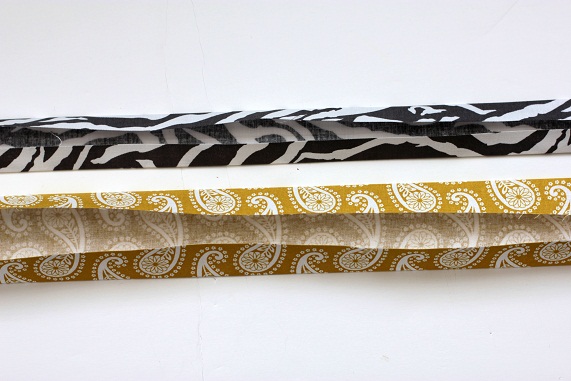
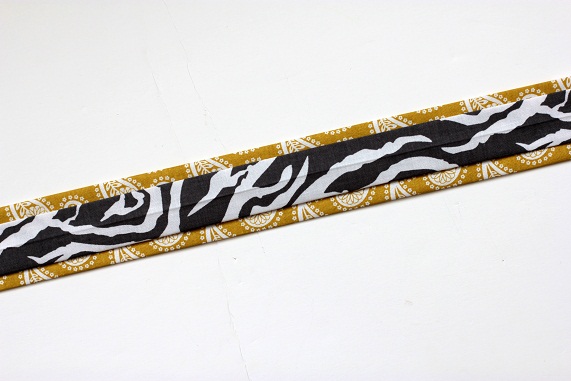
Cut four strips of fabric from coordinating or same fabric.
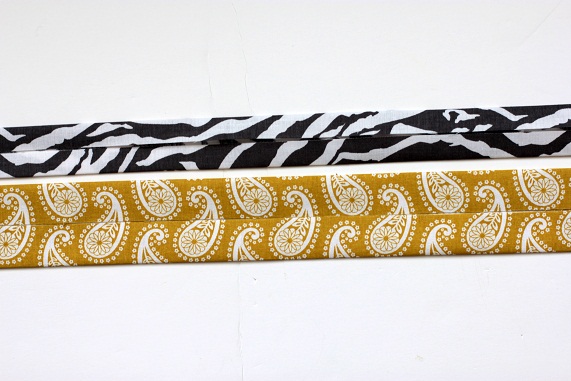
Press exactly in half, open, and press outer edges in to center so it ends up looking like above.
Press flat.
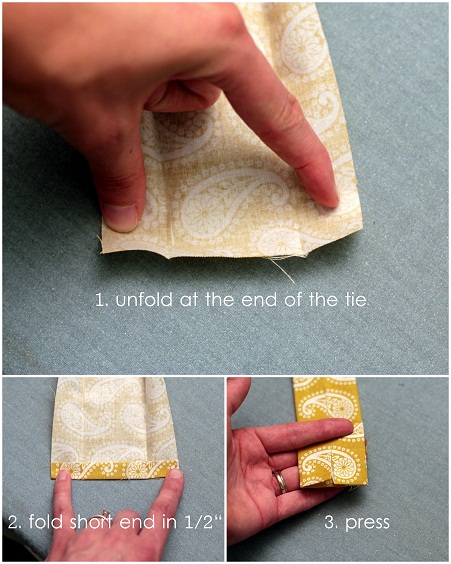
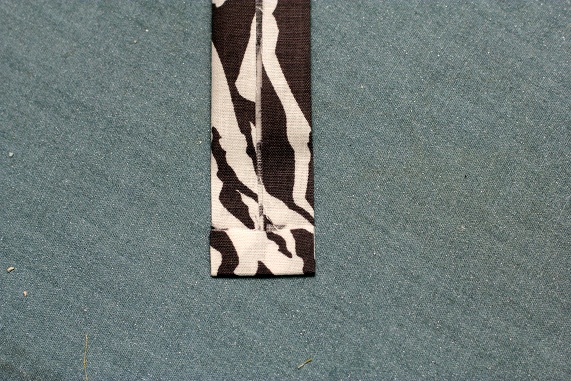
The ends are going to have raw edges, so for the wider strip, unfold the strip at the end, fold short end in 1/2″, and press it all together. Make sure you fold all edges in exactly 1/2″ so they match up when you go to sew them together.
You’ll need to fold in the end of the narrower strip as well, but you can just fold it as is in 1/2″.
Place wide strip with raw edges facing up and center narrow strip on top of it with raw edges facing down.
Pin and stitch just along the fold of the narrower strip up a short edges, down a long edge, down the other short edge, and back along the long edge. Backstitch.
Repeat with two remaining strips.
Then lay the cover part over the car seat so it is positioned how you want it. With a fabric marker, mark where you want the inside edges of the strap to be.
Lay the cover out flat on the table , line up the inside edge of the tie with the two marks on the cover.
Pin and sew the tie to the cover. (Position the tie so that the narrow strip is on the underside touching the cover. You won’t be able to see it when you’re sewing.)
Sew about a 2″ square so the tie is securely attached.
Tie to your car seat and you’re in business!
Be sure to check out Part 1 if you missed it!


{ 7 comments… read them below or add one }
{ 1 trackback }