 My favorite fabric source, Michael Miller, sent me some of their new knits to play with, and I decided to do a boy’s shirt pattern review series. I chose 3 different commercial patterns and am going to do a sew-along for each one and then compare them all and pick a favorite.
Ready….GO!
Project: Boys long sleeved knit t-shirt
MATERIALS & SUPPLIES
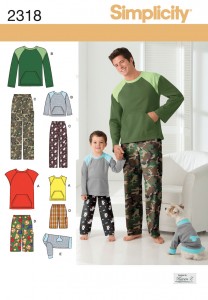
- Simplicity 2318
- Stretch knit fabric – see envelope for yardage (I used some coming-in-August Patty Young prints for Michael Miller)
- jersey/interlock etc for shirt main
- ribbing for neck band
- standard sewing supplies
**Sew all seams at 5/8″ unless otherwise instructed. I also recommend using a stretch stitch if possible.
1. As always, cut out all the pattern pieces – for this project you’ll need 1, 3, 4, 5, & 6 – line grain line on pattern up parallel to the edge of the fabric. Pin lots and cut carefully – don’t forget to mark the notches!
For this pattern, the front and back pieces (#s 1 and 2) are cut on the fold.
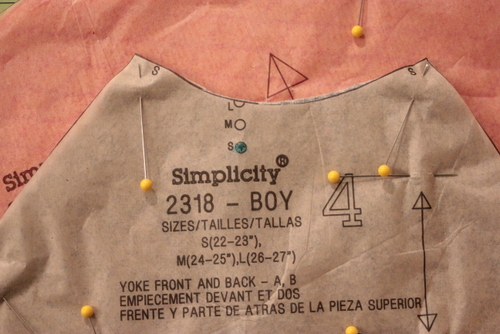
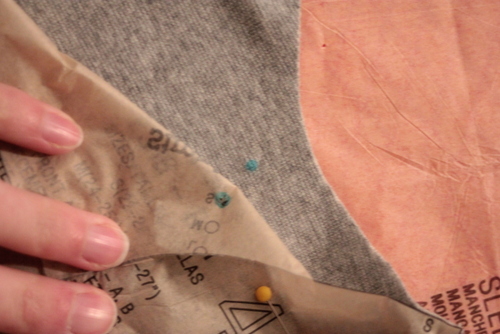
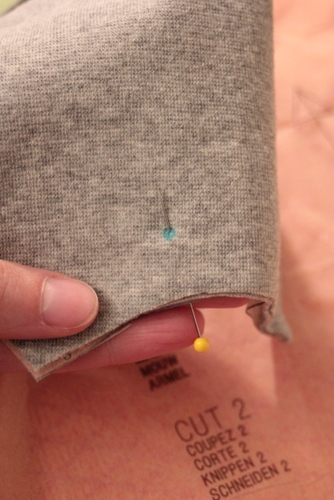
2. Using a water erasable fabric marker, mark all the dots, triangles, etc. on the pattern. I press right on top of the pattern and hold, and the ink typically goes all the way through both layers. As long as you have the markings on the wrong sides of the fabric you’ll be fine.
You can stick a pin in the center of the circle from front to back and mark right where the pin is if you want to make sure that ink goes all the way through to the right side of the fabric.
* This pattern includes a pocket on the front of the shirt which I omitted.
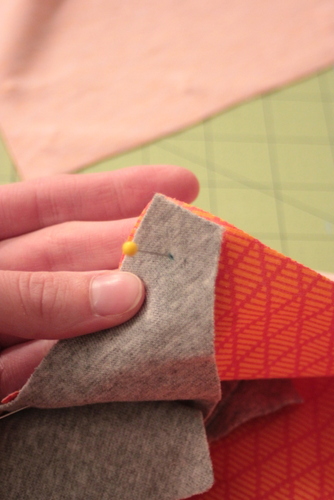
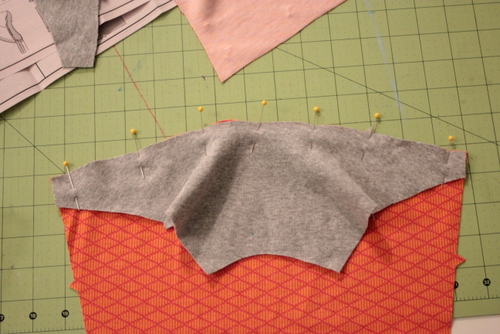
3. Pin yoke to sleeve. Line up the small dots and notches.
4. Pin generously and sew a 5/8″ seam.
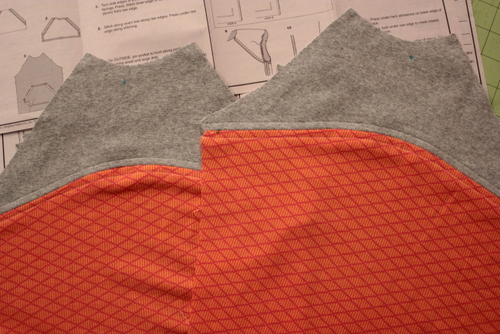
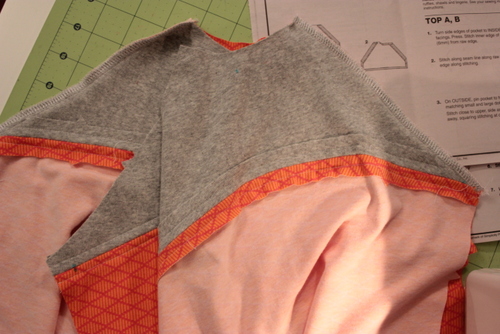
5. Top-stitch the yoke and sleeve 1/4″ from the seam – sew the yoke seam allowance to the yoke and the sleeve seam allowance to the sleeve…
…so it looks like this.
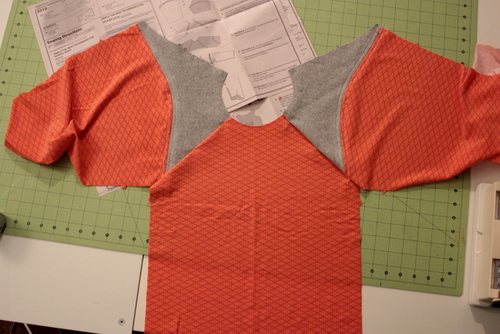
6. Pin front and back shirt pieces to the sleeve/yoke pieces at the armhole edges, lining up small dots and notches. There will always be 2 notches side by side to mark the back piece 1 single notch for the front so make sure you line up double notches (back) with double notches and single notches with single notches so all the pieces are facing the correct way.
7. Sew those seams and serge to finish. I cut off all excess seam allowance so that the serging meets the seam line to reduce bulk.
Next you’re going to sew the arm and side seams.
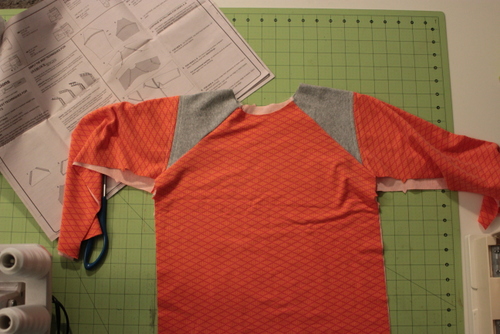
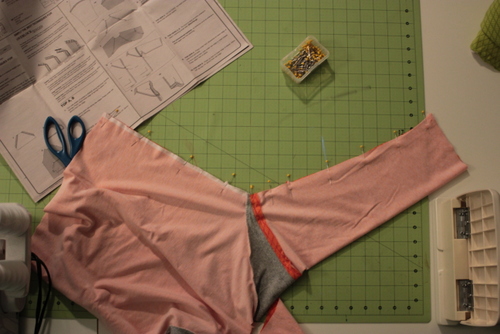
8. Pin the sleeve and shirt front and back together and sew one continuous seam from wristline to waistline.
9. I don’t know where my picture went, but sew the neck band to the neck – sew the neck band piece into a tube (sew the short ends together and turn wrong sides together). (Click here for photos on how to sew a ribbing neck band to a t-shirt.)
**The new band pattern piece may be too big for your child’s head/neck. Sew the neck band piece into a tub and try it on. It should fit snugly over his/her head. If it’s too big, take a larger seam until the fit is just right.
Divide the neck band pieces into quarters and pin
- Lay the neck band piece so that the seam is on one side
- Pin exactly opposite where the fabric is folded on the other side
- Open it up and match the seam with the pin mark you just made
- Mark the two new folds.
Do the same with the shirt and match up the pins so that the seam in the neck band piece is in the back center.
**When you sew the band to the shirt, pin the band to the right side. As you sew only stretch the neck band piece. Try not to stretch the shirt at all. Stay stitching around the neck line helps keep it from stretching.
**At the top I said to use a stretch stitch if your machine has one – I would sew the neck band on using a straight stitch first and then go over it with a stretch stitch. If you make a mistake and the fabric gets puckered or tucked, removing a stretch stitch without tearing holes in your fabric is nearly impossible. I know…I made this mistake on two of my three project shirts and it was SO FRUSTRATING!
10. Hem
Serge the raw edges (sleeve and waist) first then fold up 1 1/4″. Stitch using a double needle (test on a fabric scrap first to get the tension properly set), a single row of stretch stitching, or a double row of stretch stitching (sewed one row at a time).
All finished!
I have LOVED sewing with these knit fabrics – they are so soft and stretchy and comfortable, Elliot loves his new shirts and only wishes it weren’t too hot to wear them! Lucky for him I made them a little big so they’ll be perfect for him to wear to school in the fall.
Watch for Michael Miller’s new knit collection by Patty Young available in August!





{ 1 comment… read it below or add one }