Quilting Giveaway: Electric Quilt 7 Software (CLOSED)
The winner of EQ7 & Simplify is Robin! She said “I’d love to win the software – would really help designing quilts!”
Send an email to kelseyatvanillajoydot com BEFORE MONDAY to claim your prize.
THE PRIZE
One reader will win a copy of the Electric Quilt 7 software ($190) AND a copy of Simplify with Camille Roskelley: Quilts for the Modern Home (C&T Publishing)!
MY REVIEW
Electric Quilt
I used to agonize over my quilt patterns, drawing them out on graph paper, tracing over my lines with permanent marker, scanning them, printing off several copies, and coloring different arrangements, etc. with colored pencils…it was a tedious and very ineffective system of designing my own quilt patterns, nearly painful enough for me to throw in the towel and cease quilting all together.
Then I did a little quilting software research and found Electric Quilt, and it has changed everything!
Electric Quilt is very easy to learn and use and they thought of everything. The organization of the software is excellent – everything makes sense and there isn’t anything (so far) that I wish I could do with it and can’t.
Here’s the basic process of creating a quilt pattern with Electric Quilt 7:
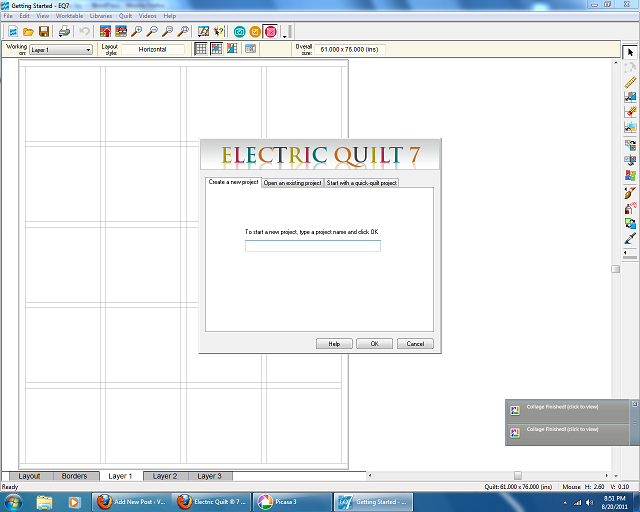
1. Name and begin a new project or choose from your existing projects.
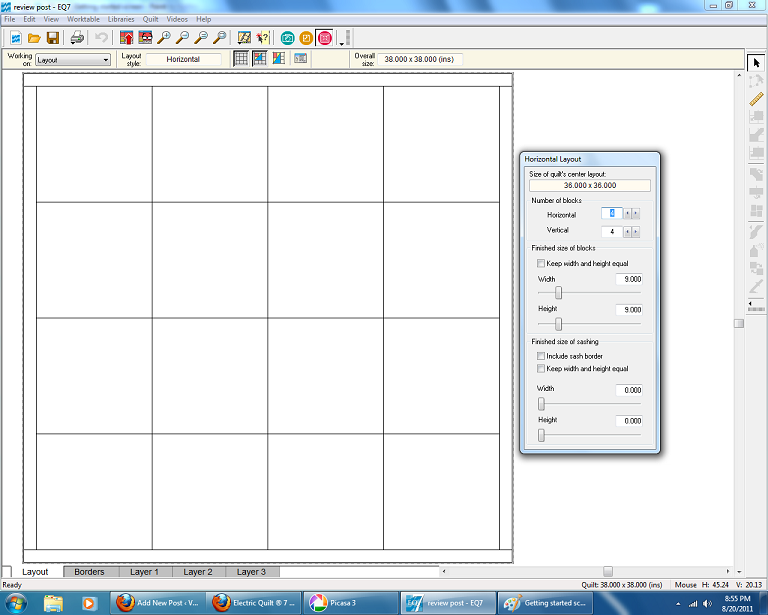
2. At the very bottom left of the screen you’ll see the tabs Layout, Borders, Layer 1, Layer 2, and Layer 3. In the Layout tab you set how many columns and rows and the width and height of each and also sashing measurements. You can go back and change this at any time, adding or deleting columns or rows or making each block bigger or smaller.
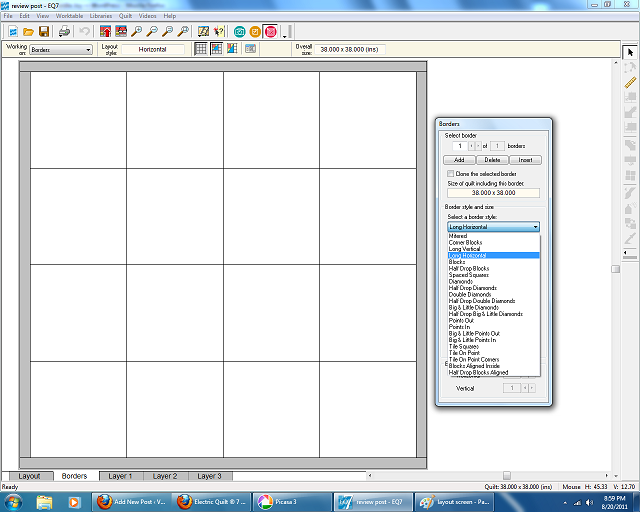
3. The next tab is borders – you can add as many as you want with any dimensions you want and you can also choose from a very long list of border styles (ex. mitered, long horizontal, long vertical, spaced squares, diamonds, etc. etc. etc.).
![]() 4. The layers tabs are the most fun. This is where you can design your own blocks and add them to the “sketchbook”, the folder that holds all your blocks, fabrics, and designs for each quilt. Every time you add to the sketchbook, it adds the most current version of what you’re working on so you can save every step of the way and always be able to go back and start over at any point in your design.
4. The layers tabs are the most fun. This is where you can design your own blocks and add them to the “sketchbook”, the folder that holds all your blocks, fabrics, and designs for each quilt. Every time you add to the sketchbook, it adds the most current version of what you’re working on so you can save every step of the way and always be able to go back and start over at any point in your design.
Here are some of the Layout Tools and their functions:
Set block – create your own or choose from the hundreds in the library
Rotate block – turn 90 degrees at a time
Flip block – see a mirror image
Eyedropper – use solid colors or fabrics from the library or scan your actual fabric, import, and use that to design
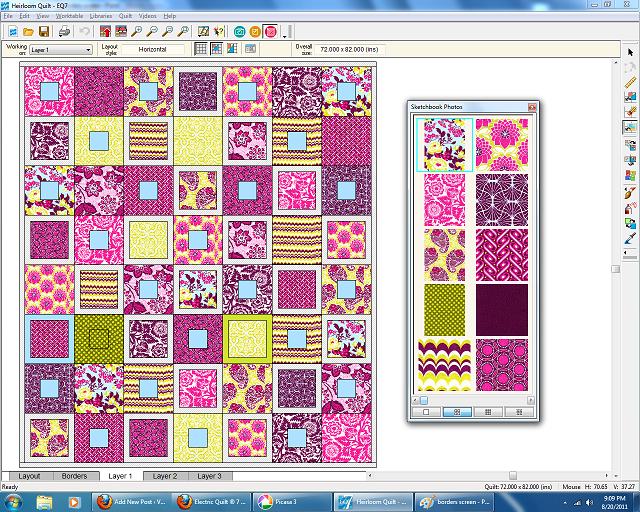
As you can see in the screen shot above, I designed my own blocks, arranged them, and then used actual scanned images of my fabric to color the sketch. (This is Joel Dewberry’s new Heirloom collection and I’m working on this quilt RIGHT NOW!)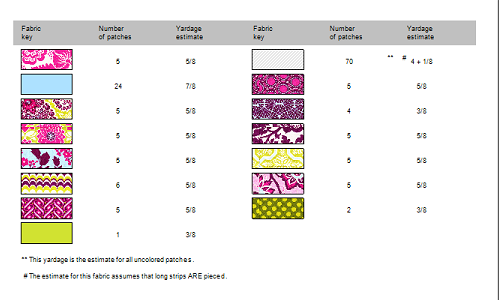
From here I can export the pattern and save it to my computer, I can print it to help me lay out my actual fabric, and I can even print the fabric yardage requirements, all calculated for me!
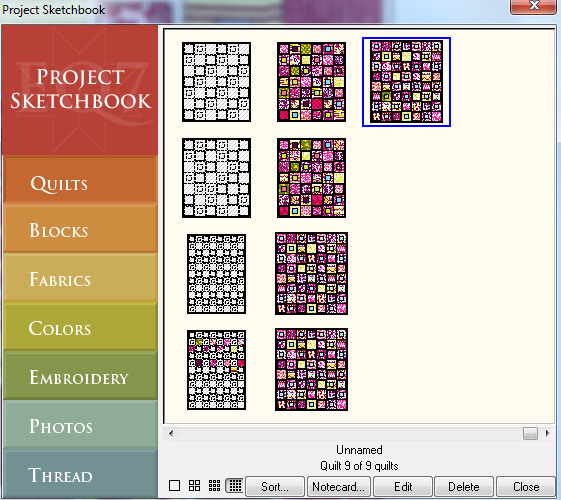
Here’s a screen shot of the sketchbook – this is where you find your step-by-step quilt designs, blocks, fabrics, etc. You can select any one of your designs and click edit to work on it some more.
I hope you can see that the software is easy to use and SO FUN!
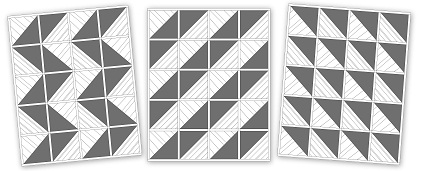
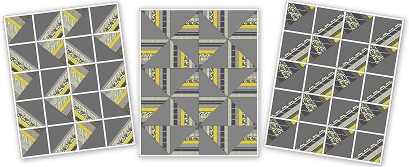
My first ever start-to-finish design with this software was for the Michael Miller Citron Gray fabric. I knew I wanted to do half triangles with half solid and the other half Citron Gray, I just didn’t know how I was going to arrange them. These three were my favorite arrangements.
Before, I would have had to make up the blocks first having no idea that these designs were possible. Then I would have had to manually rearrange them on the floor (IMPOSSIBLE in my 8 3/4 months pregnant body…).
I did my designing in black and white first…
…and then added the actual fabric colors.
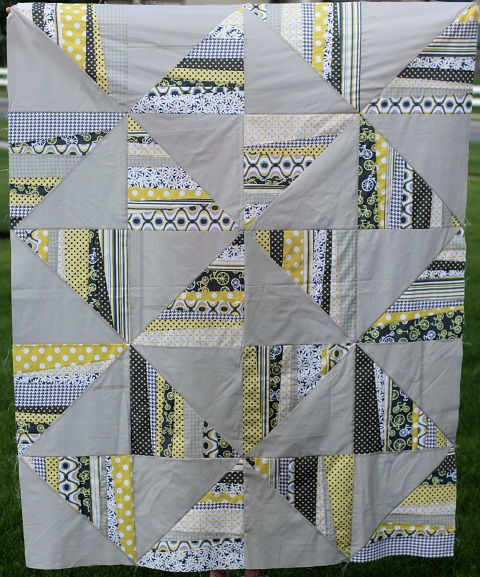
This is ultimately what I settled on. The software helped me every step of the way and I’m so happy with how this quilt top turned out!
Here are a few more patterns I’m working on for scrappy kinds of quilts.
I feel like my quilting potential has skyrocketed now that I have some useful technology at my disposal. Every time I have a new idea I work it out and save it for a rainy day. I’m going to have way more designs than time in my whole life to ever make them…
{Keep up with Electric Quilt on Facebook}
Simplify with Camille Roskelley: Quilts for the Modern Home
I have been reading Camille’s blog for a few months now, and she just seems like the sweetest and most talented quilty girl on the block. Her book is also sweet and simple with some great tips and project ideas. I enjoyed getting to know her a little better through her book and I enjoy reading her blog even more now!
Similar to many quilting books, she starts out with some general information about sewing and quilting resources, tools, supplies, and basic skills. She defines all the different cut goods which was helpful for me because I wasn’t positive before what they all were, charm packs, layer cakes, jelly rolls, honey buns, turnovers…I’ve never used them before but now I at least now what they are!
One of my favorite sections of the book was about measuring for an accurate border. She says to measure the quilt from top to bottom along each side and also down the center. If the measurements aren’t the same, average them together and use that to determine how long to cut your border strips. That will give you a more perfectly square quilt – I don’t think any of my quilts have had true 90 degree corners…I’ll be trying this method next time!
I also loved her advice about machine quilting, to practice on paper first. What a great idea! My stippling needs some work, and I’ll definitely try paper instead of wasting my precious fabric scraps.
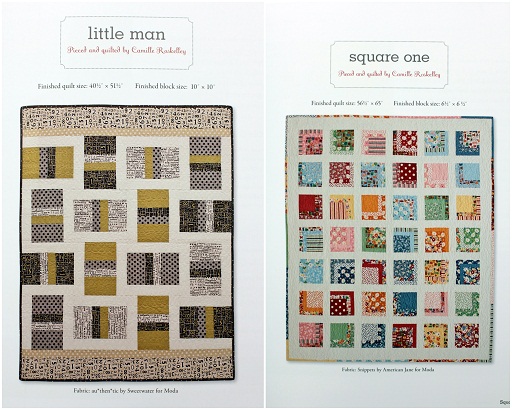
Then…the projects. 14 of them! Quilts, pillows, and more. They’re all beautiful and the pattern instructions are very easy to follow. These two are my very favorite and they’re going in the quilting queue!
Simplify is a great quilting book for quilters at all levels, and Camille Roskelley is a fabulous designer and teacher. Check out her book and her blog!
Follow C&T Publishing on Facebook for more great book titles!
{Thanks to Electric Quilt & C&T Publishing for sponsoring this giveaway!}
GIVEAWAY RULES
- Make a comment on this post telling me why you’d like to win before midnight Wednesday, September 7.
- A winner will be selected and announced in a new post on Monday.
- Only one comment per person unless you earn extra entries.
- Giveaway open only to residents of the continental United States…sorry.
- Winners must email me to claim their prize within 5 days.
EARN EXTRA ENTRIES
You may earn 1 extra entry each for doing the following (make a separate comment for each thing you do):
- Blog about this contest or any other post with a link back to Vanilla Joy
- Subscribe to the Electric Quilt Blog and You Tube channel
- Follow C&T Publishing on Twitter and You Tube
- Subscribe to Vanilla Joy on YouTube
- Follow me on Pinterest
- Become a Facebook Fan of Vanilla Joy
- Facebook about the contest with a link back here
- Subscribe to my feed
- Sign up for my newsletter
- Comment on any non-contest post (must contribute to the conversation)
GOOD LUCK and THANKS!
{This product was provided to Vanilla Joy for review purposes.}
